
If your anything like us and think these little metal filers with confounding filter papers are look easier than they are to use your not alone.
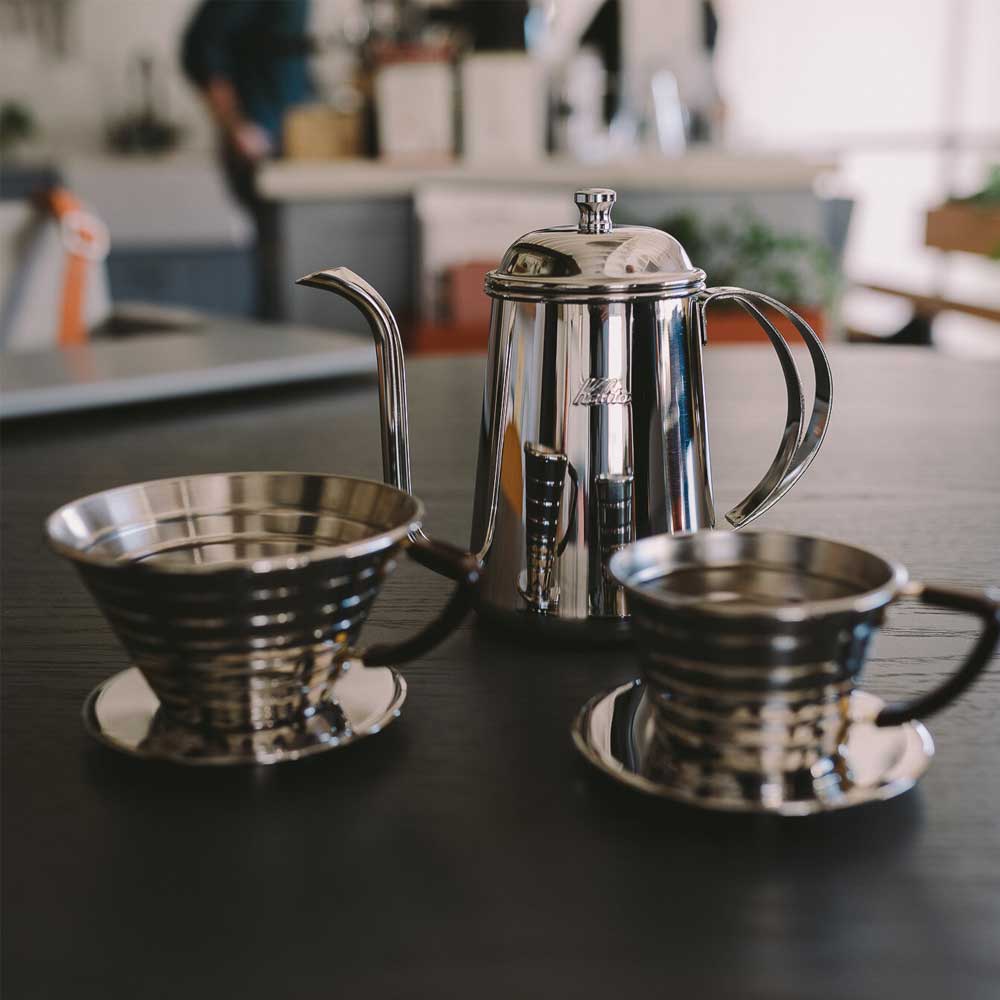
Founded in 1958 in Tokyo, the Kalita wave dripper has many similarities to a V60 or Chemex which all make for a clean, crisp cup of coffee. Whilst the Kalita wave has a number of similarities, what makes the Kalita wave stand out is its markedly different configuration.
The Kalita wave features a flat bottom with three extraction holes compared to the V60 or Chemex which drip through a singular hole. This design helps eliminate any channelling of water in the coffee bed, which results in a crisp and delicious cup.
Kalita Wave Recipe
WHAT YOU NEED:
- Kalita Wave #185
- Scale
- Timer
- Grinder
- Kalita Wave #185 paper filters
- 21g Coffee
- 350 ml Water (94°)
- Cup or vessel with a sturdy base for brewing
- Goose Neck Kettle
- Teaspoon

STEP ONE
Measure out 21g of good quality specialty coffee and grind it to a medium coarseness (think table salt between your fingers). Set this aside while you set up your equipment and work space.
Begin Boiling your water.
Place Kalita Wave #185 filter paper into your brewer. Gently push down so it sits firmly into the holder. Rinse the filter by pouring water into the vessel quickly and filling it to the top so all of the filer gets rinsed. Allow the water to drain in the vessel below (rinsing the Kalita can be tricky due to it’s “wave” design, we’ve found that by quickly filling the vessel with water, the entire filter gets rinsed and you don’t risk ruining the filter).
Empty the water from the vessel.

STEP TWO
Place your 21g of coffee into the Kalita, tap the sides to ensure you are starting with a flat bed of coffee.
Ensure your water is at temperature.
Place your Kalita & vessel onto your scales and tare so you start on zero.
Have your time next to you ready to start.
STEP THREE
Start your timer.
Begin by pouring 50 ml of water into the vessel and allow it to bloom for 30 seconds.
Agitate the water & coffee mixture gently with a clean spoon three times. Agitating is mixing the water & coffee together to ensure that all of the coffee grounds are coated in water and there aren’t any dry clumps of coffee.

STEP FOUR
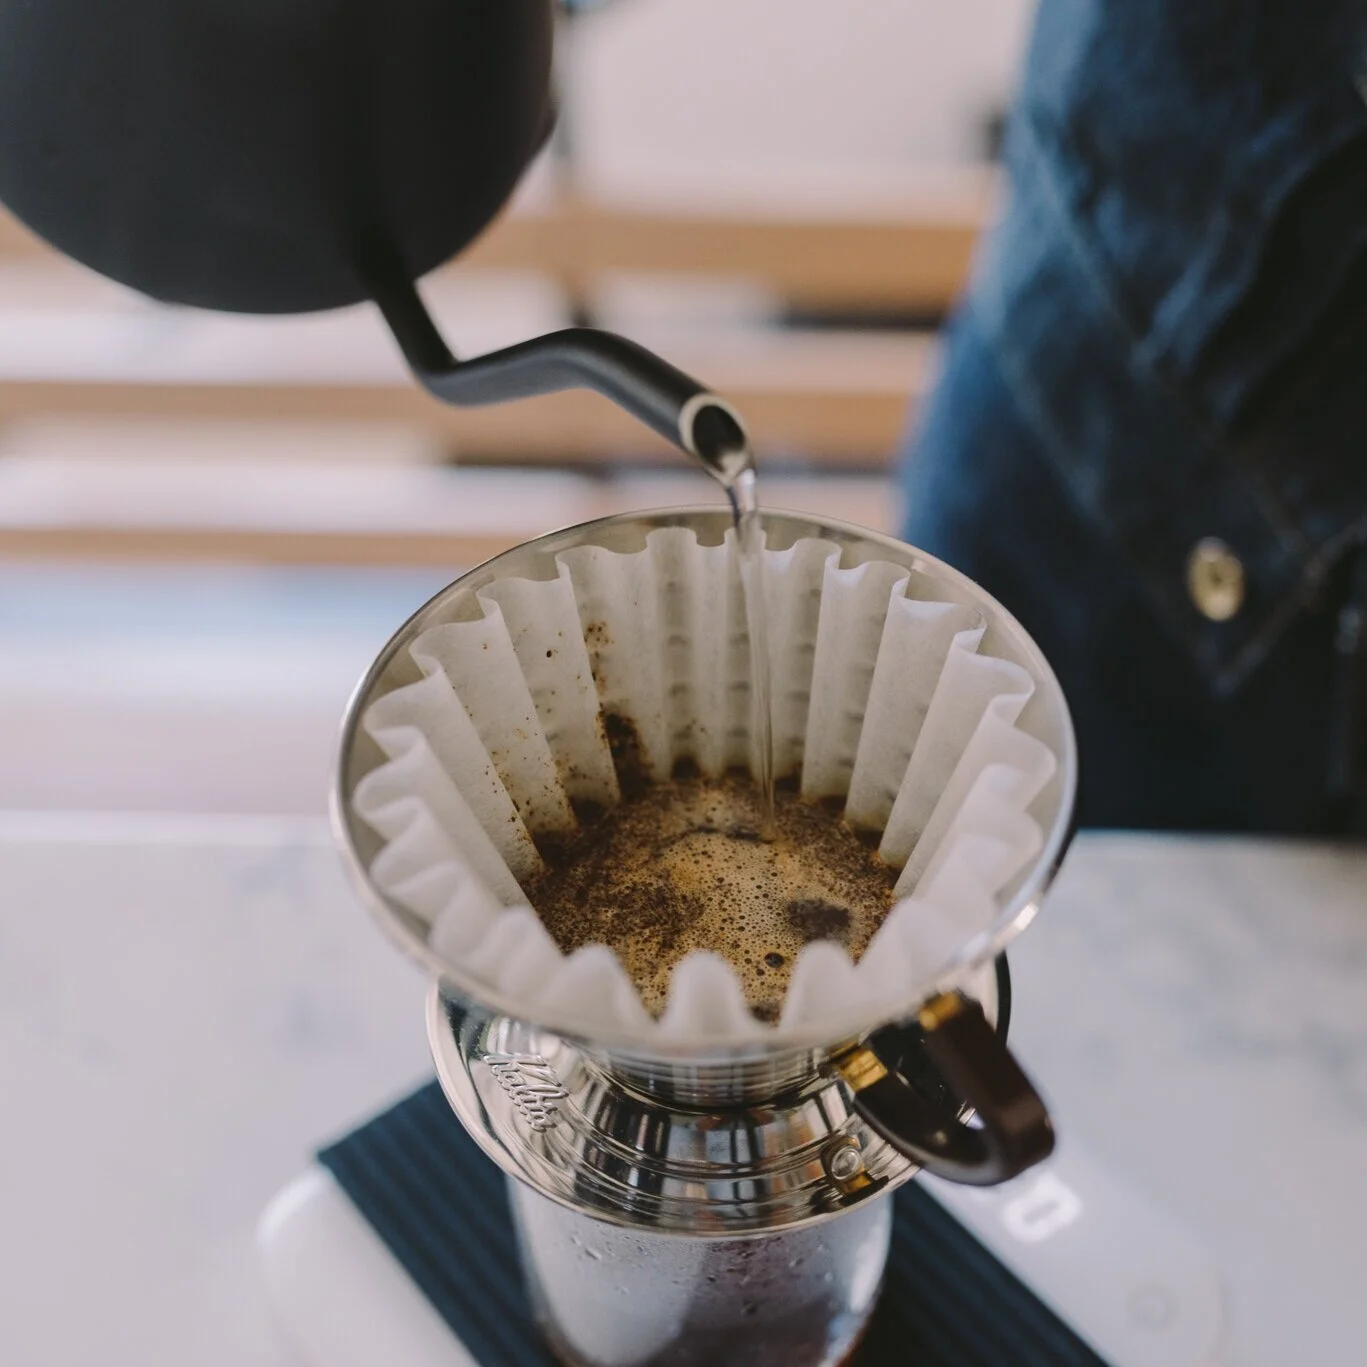
After 30 seconds begin adding water in a concentric motion (circular). You are wanting a slow and steady rate of water, ensure you pour along the edge of the brewing chamber. This helps rinse any grinds that are stuck to the side of the wall back down.
Once you have added the remaining 300 ml of water leave your coffee to brew and draw down.
This process should take a total brew time of 3 minutes to 3:20 minutes.
Time to enjoy the fruits of your labour…that delicious coffee!


